How to Change Bathroom Sink Taps Like a Pro
Upgrading your bathroom sink taps is an easy yet impactful way to enhance the overall look of your bathroom. If you’re wondering how to change bathroom sink taps without hiring a plumber, this step-by-step guide will walk you through the process. By the end of this article, you’ll feel confident enough to tackle this task on your own.
Tools You’ll Need
Before starting, gather the necessary tools to save time and hassle:
- Adjustable wrench
- Basin wrench
- Screwdriver
- Plumber’s tape
- Bucket or towel
- New bathroom sink taps
Step 1: Turn Off the Water Supply
The first step is to turn off the water supply. Locate the shut-off valves under the sink and twist them clockwise. If the valves are hard to turn, use a wrench for assistance. Ensure the water supply is completely off by turning on the taps and checking for any water flow.
Step 2: Prepare the Area
Place a bucket or towel underneath the sink to catch any residual water. This will prevent spills and keep your workspace clean.
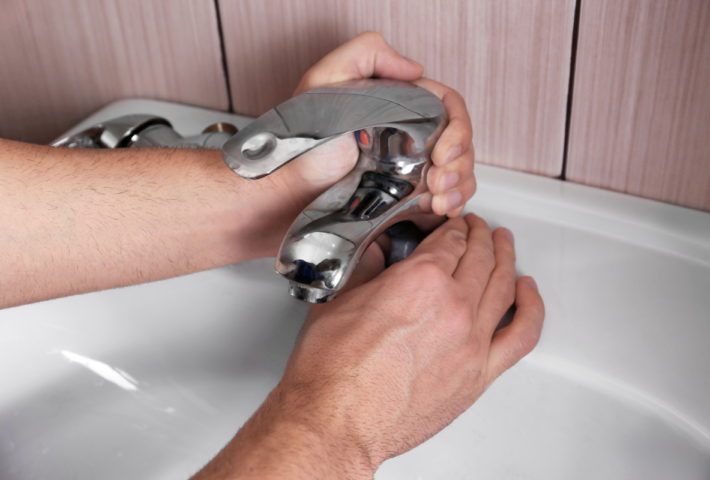
Step 3: Remove the Old Sink Taps
To remove the existing taps:
- Use a basin wrench to loosen the nuts connecting the taps to the sink.
- Disconnect the water supply lines from the taps.
- Lift the old taps out of the sink.
Step 4: Clean the Sink Area
Clean the sink surface thoroughly to remove any dirt or residue left behind by the old taps. A clean surface ensures a secure fit for the new taps.
Step 5: Install the New Bathroom Sink Taps
Follow these steps to install the new taps:
- Insert the taps into the designated holes in the sink.
- Secure them in place using the mounting nuts provided with the new taps.
- Connect the water supply lines to the taps and tighten them with an adjustable wrench. Be cautious not to overtighten, as this can damage the fittings.
Step 6: Apply Plumber’s Tape
Wrap the plumber’s tape around the threads of the water supply lines to prevent leaks. This step ensures a watertight seal and reduces the risk of future plumbing issues.
Step 7: Turn On the Water Supply
Turn the water supply back on by twisting the shut-off valves counterclockwise. Test the new taps to ensure they function properly and check for leaks.
Common Mistakes to Avoid
- Overtightening fittings: This can lead to cracks or damage.
- Skipping the plumber’s tape: Always use plumber’s tape to avoid leaks.
- Neglecting to clean the sink area: A dirty surface can compromise the installation.
FAQs
Q: Can I change bathroom sink taps without professional help?
A: Yes, with the right tools and instructions, you can replace bathroom sink taps yourself.
Q: How long does it take to change sink taps?
A: It typically takes 1-2 hours, depending on your experience.
Q: What are the best taps for bathroom sinks?
A: Choose taps that match your bathroom’s style and are made from durable materials like stainless steel or brass.
Q: Do I need to turn off the main water supply?
A: No, you can turn off the local shut-off valves under the sink.
Final Thoughts
Changing bathroom sink taps is a simple and rewarding DIY project that can refresh your bathroom’s appearance. This guide lets you know how to change bathroom sink taps efficiently and effectively. Ready to transform your bathroom? Start today!
Looking for premium-quality bathroom sinks and taps services? Visit Crown Quotes to explore our wide range of stylish and durable options. Upgrade your bathroom effortlessly!


